#!/usr/bin/env node --experimental-repl-await const {XpresserRepl} = require('xpresser'); const repl = new XpresserRepl('/path/to/your/specified/file.js'); /** * Add custom context to repl */ // repl.addContext('customContent', 'customContent Value!'); /** * Start The Repl Server * By Booting xpresser using your config. */ repl.start(($) => { // $ (i.e xpresserInstance) is passed as the only argument. // repl.server is now defined. // Any Customization to the repl server directly can be done here. });Copied!
# Repl

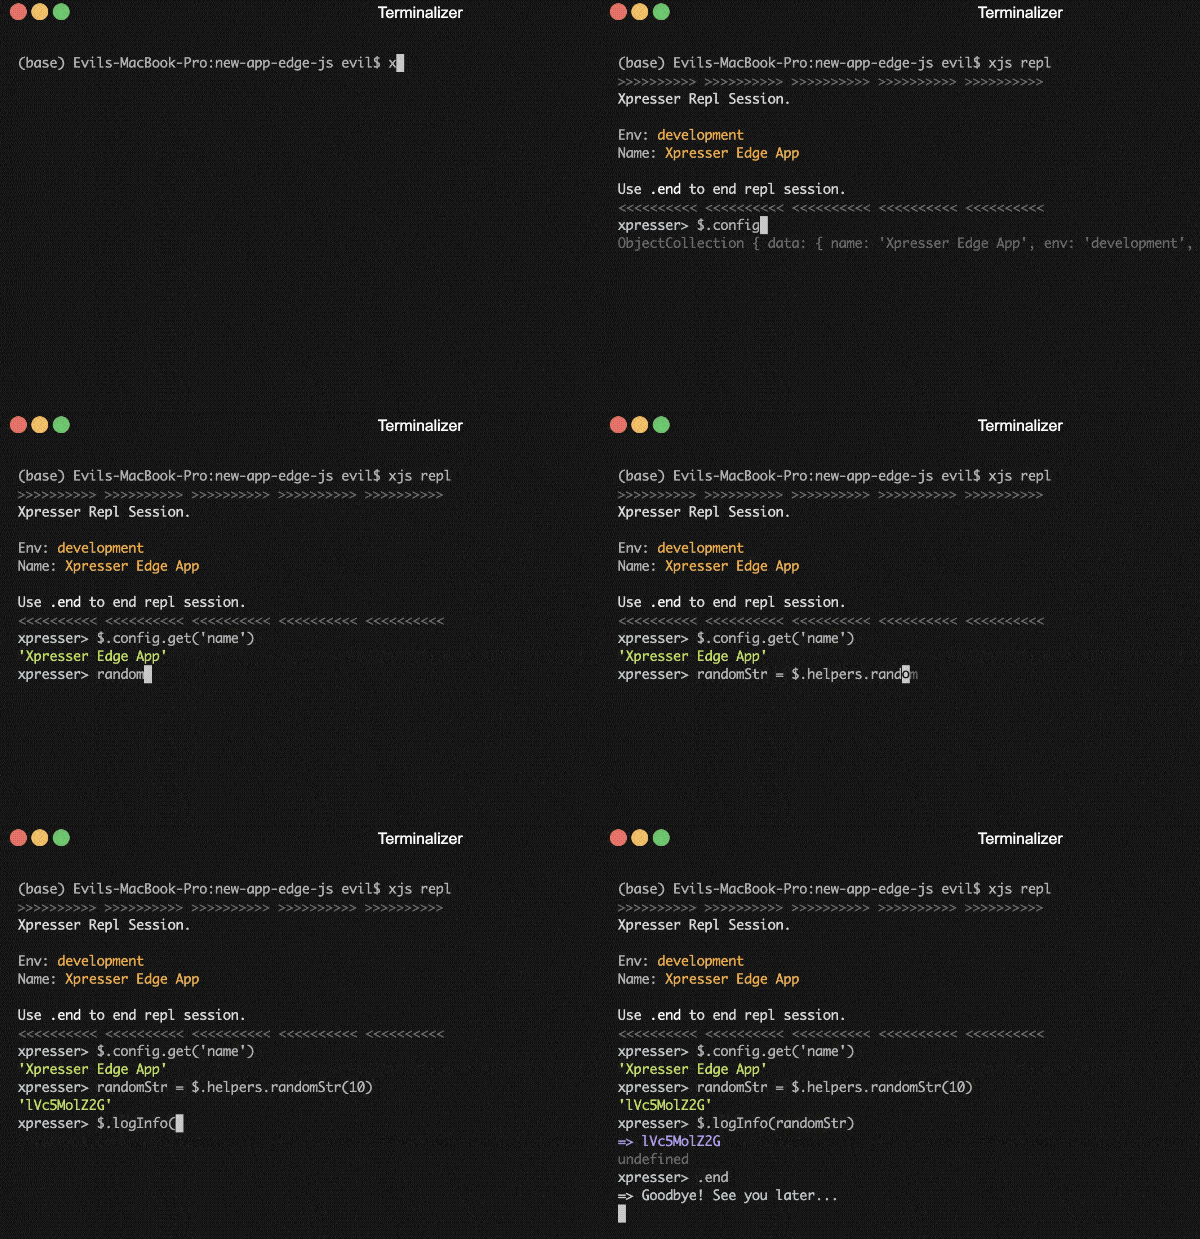
Xpresser Repl allows you to interact with your entire Xpresser application on the command line, including the current xpresser instance $.
To enter the repl environment, run the command
xjs replCopied!
This command checks for a file named repl.js and if not found it provides an option to automatically create the needed file for you.
# repl.js
Your repl file is where the XpresserRepl class is called, and the node repl server is booted.
The xjs repl command creates these files for you.
Note: Running the repl file directly e.g node repl.js will start the repl as expected, but you may not get to use top level await function.
# Setup/Configuration
Setting up a perfect repl for your xpresser project is easy with the XpresserRepl class.
# Default Context
The variables listed below are auto-loaded on boot and available in your repl session.
| Key | Description |
|---|---|
| $ | current xpresser instance |
# Add Context
To add a context to your repl session
repl.addContext(key, value); // Or using object repl.addContext({ key, value, key1, value2 })Copied!
# Add files to context
XpresserRepl includes a helper function that can load files into your context by requiring them.
repl.addContextFromFiles({ User: 'backend/models/User.js', Mailer: 'backend/libs/Mailer.js' });Copied!
Key of file path will be used as the content key.
You can also group files into one contentName
repl.addContextFromFiles({ User: 'backend/models/User.js', Mailer: 'backend/libs/Mailer.js' }, 'models')Copied!
Incomplete Documentation
This documentation is not yet complete! Check back in some days time.